Tiny Trays, Big Flavor: The Beginner's Guide to Growing Microgreens on Your Kitchen Counter
Somewhere between sprouting and a full-grown plant lives one of the most exciting things you can grow at home — and most people walk right past it at the grocery store without a second thought. Microgreens, those wispy little seedlings sold in small plastic clamshells for $5–$8 a pop, have quietly become a staple at upscale restaurants, farmers markets, and health food stores across the country.
But here's the thing: they are extraordinarily easy to grow yourself. We're talking shoebox-sized trays, a sunny windowsill, and a bag of seeds. That's genuinely all it takes to have a steady supply of fresh, nutrient-dense greens available every week of the year — no outdoor space required, no special equipment needed, no green thumb necessary.
If you've been curious about microgreens but weren't sure where to start, this is your guide.
What Exactly Are Microgreens?
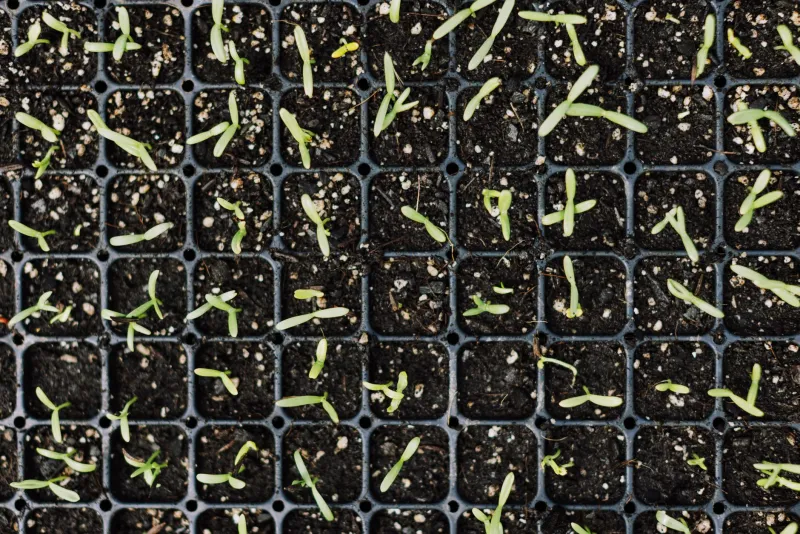
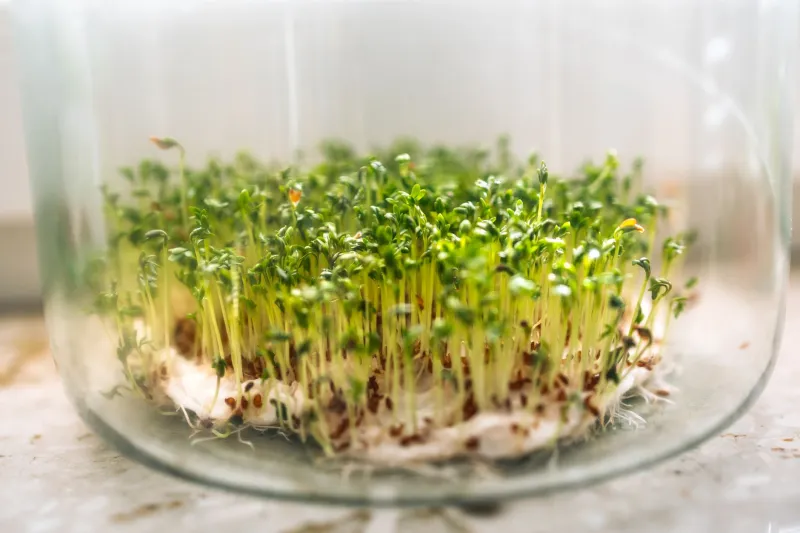
Microgreens aren't a specific plant — they're a stage of growth. Almost any edible plant can technically be harvested as a microgreen, which is the point at which the first true leaves (called cotyledons) have emerged and the seedling is between one and three inches tall. That typically happens anywhere from 7 to 21 days after germination, depending on the variety.
They're different from sprouts, which are germinated seeds eaten root and all. Microgreens are grown in a growing medium, develop a root system, and are harvested by snipping the stems just above the soil line. The result is a concentrated burst of flavor — often more intense than the mature plant — packed into a tiny, tender bite.
Nutrition-wise, research has shown that microgreens can contain significantly higher concentrations of vitamins and antioxidants compared to their fully grown counterparts. Varieties like red cabbage, radish, and sunflower microgreens have been studied for their impressive nutrient density relative to their small size.
Why Home Gardeners Are Hooked
For apartment dwellers, small-space gardeners, and anyone who's struggled to keep herbs alive on a windowsill, microgreens solve a lot of problems at once.
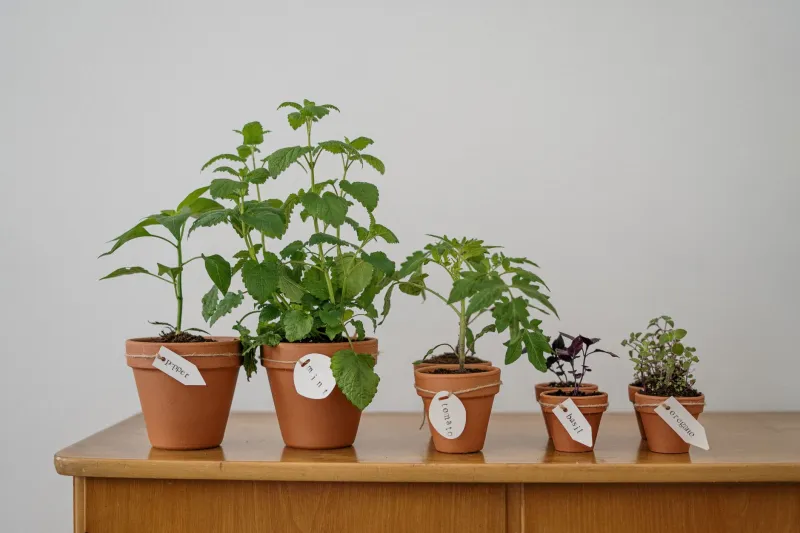
First, the timeline is almost instant gratification by gardening standards. While you're waiting for your tomatoes to fruit or your pepper plants to size up, a tray of sunflower or pea shoot microgreens can be ready to eat in 10–14 days. That's a harvest cycle measured in days, not months.
Second, the footprint is minimal. A standard 10x20 inch seedling tray — the kind used for starting seeds — fits comfortably on most windowsills or countertops. You don't need a grow light (though one helps in winter), a greenhouse, or outdoor access of any kind.
Third, the flavor impact is real. Chefs have known this for years: a small handful of spicy radish microgreens, earthy beet shoots, or bright pea tendrils transforms a salad, sandwich, or grain bowl from ordinary to something that tastes genuinely considered. Growing your own means that upgrade costs pennies instead of dollars.
The Best Seeds to Start With
Not all microgreens are created equal when it comes to ease of growing, flavor, and nutritional payoff. Here are some of the best varieties for beginners:
Sunflower: One of the most popular for good reason. Sunflower microgreens are thick, nutty, and satisfying — almost crunchy. They grow quickly and reliably, making them a great first crop.
Radish: Fast-growing (often ready in 7–10 days), with a peppery kick that wakes up any dish. Varieties like daikon radish or China Rose radish produce beautiful color along with bold flavor.
Peas (including snow peas and sugar snap): Pea shoots are sweet, tender, and taste like the best version of fresh spring peas. They're also among the most forgiving to grow.
Broccoli: Mild in flavor but often cited for its nutritional density. Broccoli microgreens are a great everyday green to add to smoothies, wraps, or eggs.
Amaranth: Strikingly colorful — deep magenta and red — and mildly earthy. Amaranth microgreens add serious visual drama to a plate.
Basil: A little slower than the others (12–21 days), but the payoff is a fragrant, intensely flavored microgreen that captures everything you love about fresh basil in a tiny leaf.
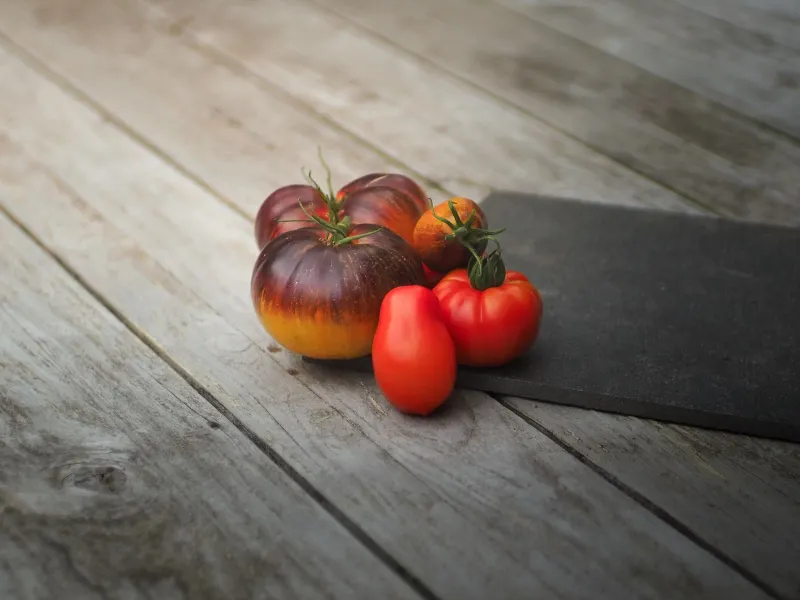
For anyone interested in seed saving and heirloom varieties, it's worth noting that many heirloom vegetable seeds produce exceptional microgreens. Heirloom beets, mustard greens, and even rare amaranth varieties often have more complex flavor profiles at the microgreen stage than commercial hybrid counterparts — and buying heirloom seeds means you can eventually grow the full plant, save seeds, and close the loop entirely.
How to Grow Them: A Simple Setup
Here's what you'll need to get started:
- A shallow tray (1–2 inches deep) with drainage holes, and a second solid tray underneath to catch water
- A growing medium: standard potting mix works fine, as does coconut coir
- Seeds (use a generous amount — microgreens are seeded densely)
- A spray bottle for watering
- A spot with indirect natural light, or a basic LED grow light
Step 1: Fill your tray with about an inch of moistened growing medium. Level it gently without compacting it.
Step 2: Scatter seeds evenly and densely across the surface. For most varieties, you want seeds close together — nearly touching — but not piled on top of each other.
Step 3: Cover and weight. Place a second tray on top and set something heavy on it (a book works great). This encourages strong, straight stems as the seeds push upward. Keep in a warm spot for 2–4 days.
Step 4: Uncover and water. Once sprouts are pushing against the top tray, remove the cover and move to your light source. Water from the bottom by pouring a small amount into the drainage tray, letting the soil absorb it upward. This prevents damping off and keeps the leaves dry.
Step 5: Harvest. When your microgreens have developed their first set of true leaves and reached 1–3 inches tall, snip them just above the soil with clean scissors. Rinse, dry, and eat immediately for peak flavor.
Year-Round Growing, Zero Outdoor Space Required
One of the most appealing things about microgreens for US home gardeners — especially those in colder climates — is that they don't care what month it is. January in Minnesota or July in Phoenix, your kitchen counter maintains a growing environment that works year-round.
A basic full-spectrum LED grow light (available online for $20–$40) extends your options even further, letting you grow more light-hungry varieties like basil or amaranth without relying on seasonal sun angles.
Start with one tray. See how it goes. Then stagger two or three trays on a rotating schedule so you're harvesting something fresh every week without any single tray taking up much space. It's one of the most efficient things you can grow — and once you've had fresh homegrown sunflower shoots on a grain bowl, the $7 grocery store clamshell starts looking pretty unnecessary.